How to set up an interactive notebook
Do you want to start using interactive notebooks, but don’t know where to start? I broke down the way that I use interactive notebooks in my classroom below. I discuss supplies needed, storage, and how I go about printing/copying the papers.
Have more questions about interactive notebooks? Make sure to check out my
interactive notebook guide to answer all your burning interactive notebook questions!
Click here to read.
What supplies do I need for my interactive notebooks?
Don’t worry, you don’t need any additional supplies for an interactive notebook. Most likely, you have plenty of each of these already in your classroom. That’s why I love about interactive notebooks – there’s nothing out of the ordinary that you and your students need to purchase in order to implement them.
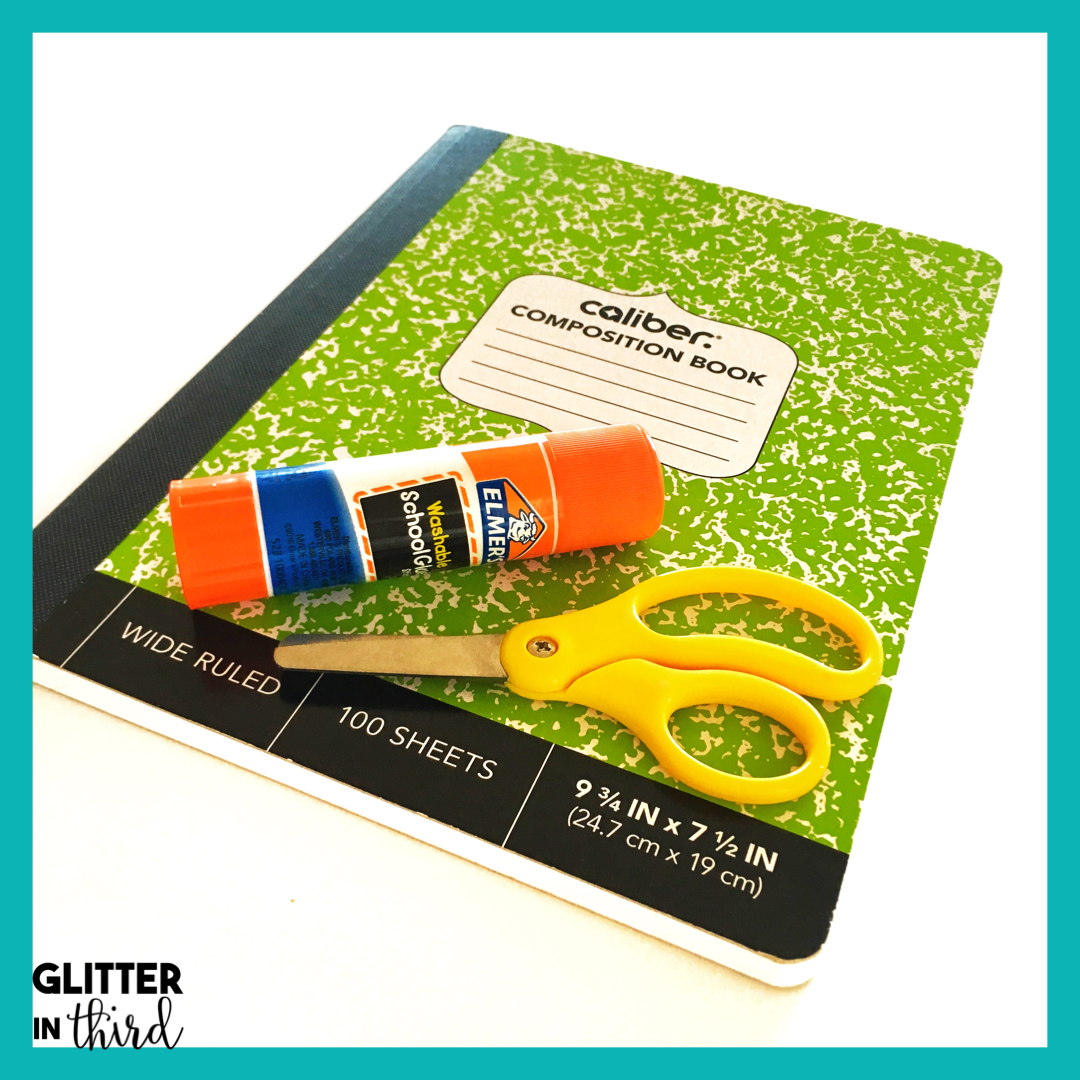
- Regular composition book OR spiral notebook
- I usually double up on subjects and use tabs as dividers (science/social studies in one book, and reading/math in another)
How do I store my interactive notebooks?
I hear this question a lot. You could use:
- My students stored anything writing related in here. They put their Vocabulary Notebooks and Writers’ Notebooks in here, along with their independent reading book.
- Plastic bins grouped by table/desk configurations
- I have not personally used these in my classroom, but many teacher bloggers have with much success.
How do I deal with the scraps?
This was actually my biggest issue when I started using interactive notebooks in the classroom. Having 28 kids constantly out of their seat to throw away paper was chaotic and a total headache. But do not worry – I came up with two ideas that both worked AWESOME in my classroom. I think they will work great in your classroom as well
- Leave the scraps at their seat
- Teach the students that after the cut their scrap, to immediately ball the scrap up (this saves space on their desk and minimizes clutter.
- Then, one student at the end of the class period (I usually pick whoever finishes cutting first) walks around with the recycling bin and collects the trash. That is only one student up and walking around the whole time.
- Place a small bucket in the middle of each students’ table/desk setup. They can put all the scraps inside of there. At the end of the block, one student can be responsible for recycling all the paper scraps.
Handing out the materials
You are going to love how simple it is to prep the materials for your interactive notebooks! I wrote down three simple steps below to show the easy process.
Step 1: Print
Choose which pieces of the interactive notebook that you want to print.
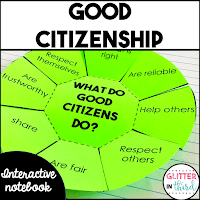
My interactive notebooks have a three level differentiation system. There is a filled-in template/answer key, fill-in-the-blank template, and blank template. It is up to you what you would like to use. All students could get the same one, or you could give students different ones depending on their ability level, or if they need specific accommodations in the classroom.
You can learn more about the differentiation options here!
Step 2: Make copies
Remember, if you use my interactive notebooks, only copy half an many as the number of students in the class (there are two activities per sheet! So if you have 30 students, make 15 copies total)
Step 3: Cut in half
Each of my interactive notebooks are
printed two to a sheet. That means each piece of paper contains an activity for TWO students. Yes, these are half as much paper as a worksheet would take!
Step 4: Pass out to students
Woohoo! Pass out to students as activities, practice, and reference guides to support your lessons.
What do you think?
Doesn’t that sound simple? Interactive notebooks allow you to save paper AND differentiate for students. I can’t wait for you to get started!
Do you have any more questions? You can always email me at
[email protected]. I would love to clarify anything needed.
Pin for later?